In this quickstart, you use the managed application definition that you created using one of the quickstart articles. The deployment creates two resource groups. One resource group contains the managed application and the other is a managed resource group for the deployed resources. The managed application definition deploys an App Service plan, App Service, and storage account.
The examples use the resource groups names created in the quickstart to publish an application definition. If you used the quickstart to publish a definition with bring your own storage, use those resource group names.
To get the managed application's definition with Azure PowerShell, run the following commands.
In Visual Studio Code, open a new PowerShell terminal and sign in to your Azure subscription.
Connect-AzAccount The command opens your default browser and prompts you to sign in to Azure. For more information, go to Sign in with Azure PowerShell.
From Azure PowerShell, get your managed application's definition. In this example, use the resource group name appDefinitionGroup that was created when you deployed the managed application definition.
Get-AzManagedApplicationDefinition -ResourceGroupName appDefinitionGroup Get-AzManagedApplicationDefinition lists all the available definitions in the specified resource group, like sampleManagedApplication.
Create a variable for the managed application definition's resource ID.
$definitionid = (Get-AzManagedApplicationDefinition -ResourceGroupName appDefinitionGroup -Name sampleManagedApplication).ManagedApplicationDefinitionId You use the $definitionid variable's value when you deploy the managed application.
To get the managed application's definition with Azure CLI, run the following commands.
In Visual Studio Code, open a new Bash terminal session and sign in to your Azure subscription. If you have Git installed, select Git Bash.
az login The command opens your default browser and prompts you to sign in to Azure. For more information, go to Sign in with Azure CLI.
From Azure CLI, get your managed application's definition. In this example, use the resource group name appDefinitionGroup that was created when you deployed the managed application definition.
az managedapp definition list --resource-group appDefinitionGroup The command lists all the available definitions in the specified resource group, like sampleManagedApplication.
Create a variable for the managed application definition's resource ID.
definitionid=$(az managedapp definition show --resource-group appDefinitionGroup --name sampleManagedApplication --query id --output tsv) You use the $definitionid variable's value when you deploy the managed application.
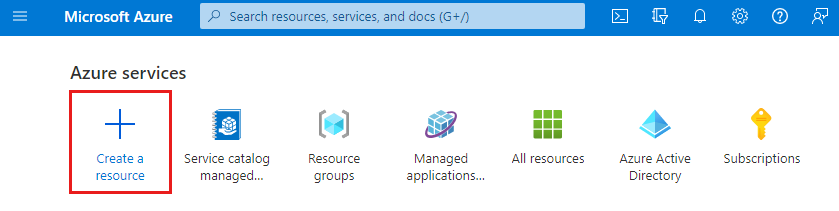
To get the managed application's definition from the Azure portal, use the following steps.
Create a resource group for the managed application deployment.
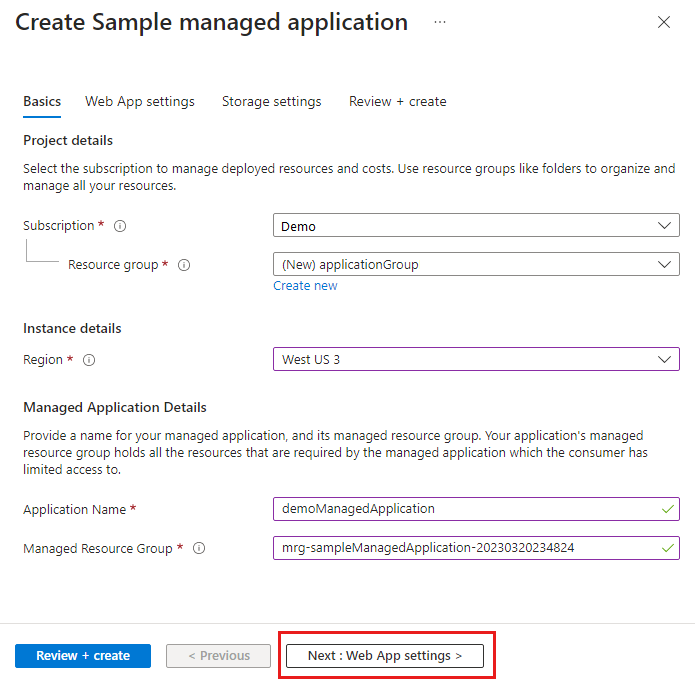
New-AzResourceGroup -Name applicationGroup -Location westus You also need to create a name for the managed application resource group. The resource group is created when you deploy the managed application.
Run the following commands to create the managed resource group's name.
$mrgprefix = 'mrg-sampleManagedApplication-' $mrgtimestamp = Get-Date -UFormat "%Y%m%d%H%M%S" $mrgname = $mrgprefix + $mrgtimestamp $mrgname The $mrgprefix and $mrgtimestamp variables are concatenated and stored in the $mrgname variable. The variable's value is in the format mrg-sampleManagedApplication-20230512103059. You use the $mrgname variable's value when you deploy the managed application.
You need to provide several parameters to the deployment command for the managed application. You can use a JSON formatted string or create a JSON file. In this example, we use a JSON formatted string. The PowerShell escape character for the quote marks is the backtick ( ` ) character. The backtick is also used for line continuation so that commands can use multiple lines.
The JSON formatted string's syntax is as follows:
"< `"parameterName`": , `"parameterName`": >" For readability, the completed JSON string uses the backtick for line continuation. The values are stored in the $params variable and used in the deployment command. The parameters in the JSON string are required to deploy the managed resources.
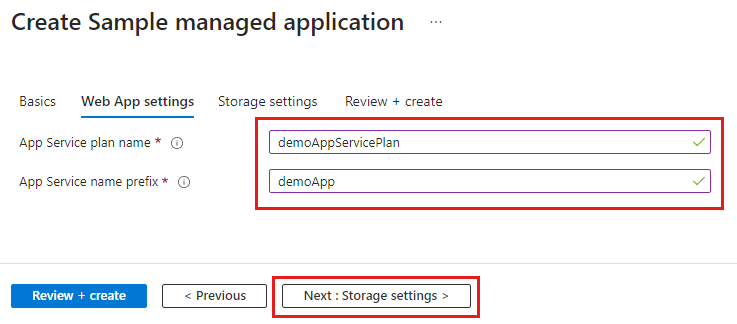
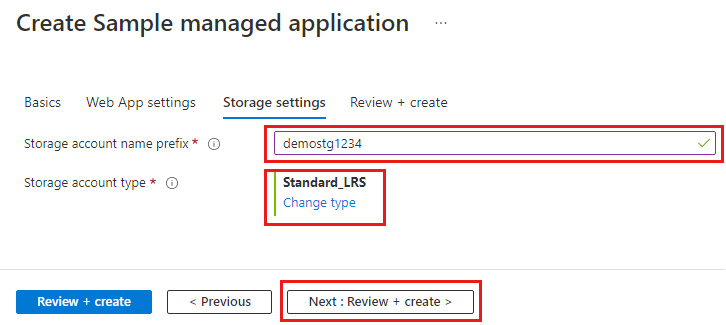
$params="< `"appServicePlanName`": , ` `"appServiceNamePrefix`": , ` `"storageAccountNamePrefix`": , ` `"storageAccountType`": >" The parameters to create the managed resources:
Create a resource group for the managed application deployment.
az group create --name applicationGroup --location westus You also need to create a name and path for the managed application resource group. The resource group is created when you deploy the managed application.
Run the following commands to create the managed resource group's path.
mrgprefix='mrg-sampleManagedApplication-' mrgtimestamp=$(date +%Y%m%d%H%M%S) mrgname="$$" subid=$(az account list --query [].id --output tsv) mrgpath="/subscriptions/$subid/resourceGroups/$mrgname" The $mrgprefix and $mrgtimestamp variables are concatenated and stored in the $mrgname variable. The variable's value is in the format mrg-sampleManagedApplication-20230512103059. The mrgname and subid variable's are concatenated to create the mrgpath variable value that creates the managed resource group during the deployment.
You need to provide several parameters to the deployment command for the managed application. You can use a JSON formatted string or create a JSON file. In this example, we use a JSON formatted string. In Bash, the escape character for the quote marks is the backslash ( \ ) character. The backslash is also used for line continuation so that commands can use multiple lines.
The JSON formatted string's syntax is as follows:
"< \"parameterName\": , \"parameterName\": >" For readability, the completed JSON string uses the backslash for line continuation. The values are stored in the params variable and used in the deployment command. The parameters in the JSON string are required to deploy the managed resources.
params="< \"appServicePlanName\": , \ \"appServiceNamePrefix\": , \ \"storageAccountNamePrefix\": , \ \"storageAccountType\": >" The parameters to create the managed resources:
Run the following command to deploy the managed application.
New-AzManagedApplication ` -Name "demoManagedApplication" ` -ResourceGroupName applicationGroup ` -Location westus ` -ManagedResourceGroupName $mrgname ` -ManagedApplicationDefinitionId $definitionid ` -Kind ServiceCatalog ` -Parameter $params The parameters used in the deployment command:
Run the following command to deploy the managed application.
az managedapp create \ --name demoManagedApplication \ --resource-group applicationGroup \ --location westus \ --managed-rg-id $mrgpath \ --managedapp-definition-id $definitionid \ --kind ServiceCatalog \ --parameters "$params" The parameters used in the deployment command:
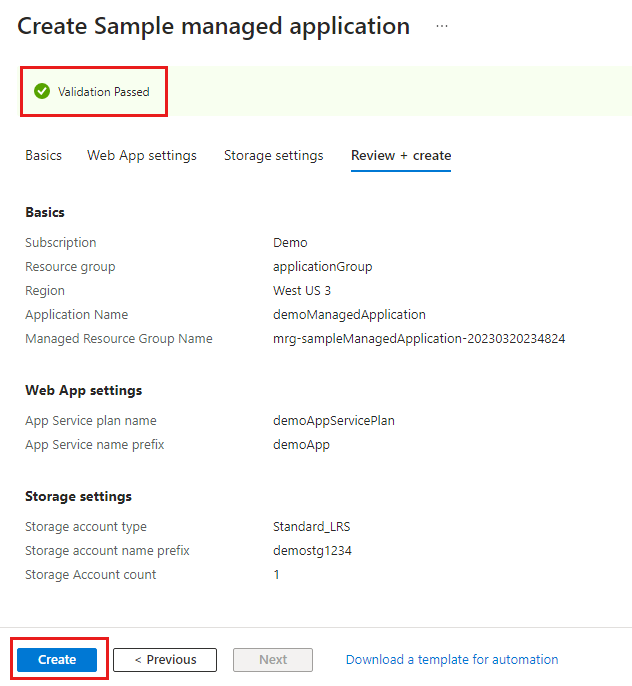
Review the summary of the values you selected and verify no errors are displayed. Select Create to deploy the managed application.
After the service catalog managed application is deployed, you have two new resource groups. One resource group contains the managed application. The other resource group contains the managed resources that were deployed. In this example, an App Service, App Service plan, and storage account.
After the deployment is finished, you can check your managed application's status.
Run the following command to check the managed application's status.
Get-AzManagedApplication -Name demoManagedApplication -ResourceGroupName applicationGroup Expand the properties to make it easier to read the Properties information.
Get-AzManagedApplication -Name demoManagedApplication -ResourceGroupName applicationGroup | Select-Object -ExpandProperty Properties Run the following command to check the managed application's status.
az managedapp list --resource-group applicationGroup The following command parses the data about the managed application to show only the application's name and provisioning state.
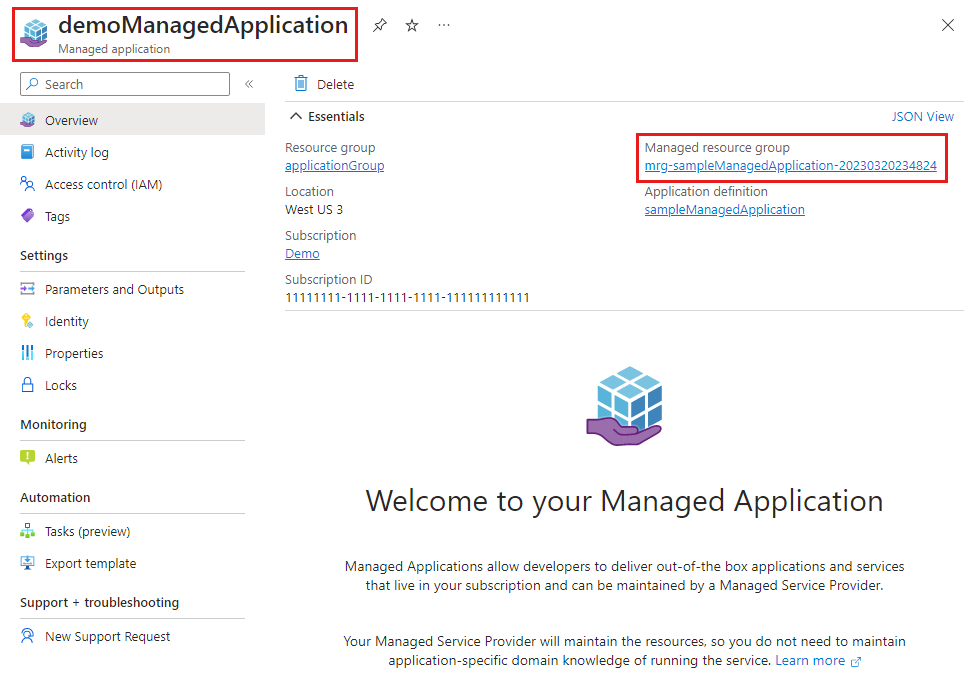
az managedapp list --resource-group applicationGroup --query "[]." Go to the resource group named applicationGroup and select Overview. The resource group contains your managed application named demoManagedApplication.
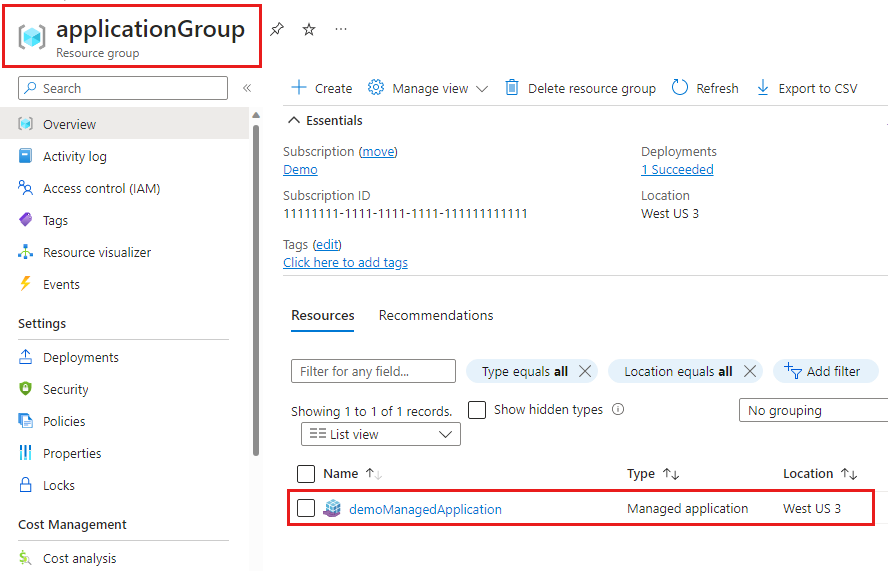
Select the managed application's name to get more information like the link to the managed resource group.
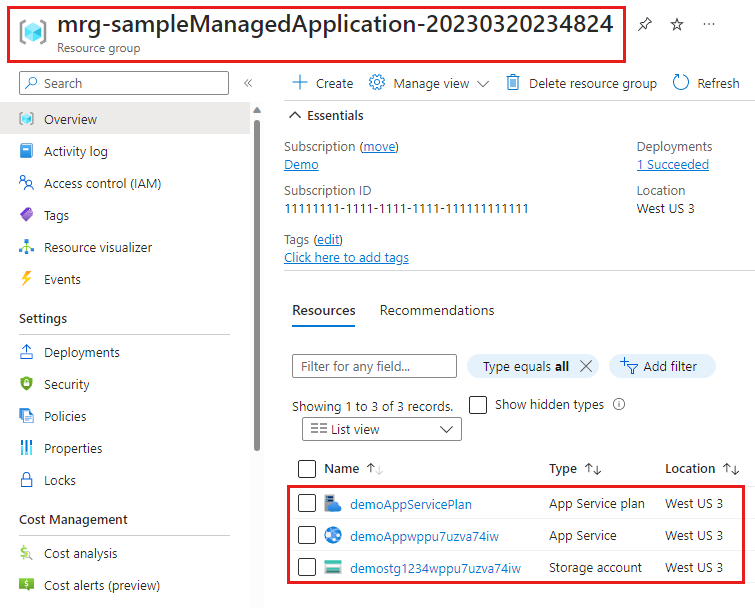
You can view the resources deployed to the managed resource group.
To display the managed resource group's resources, run the following command. You created the $mrgname variable when you created the parameters.
Get-AzResource -ResourceGroupName $mrgname To display all the role assignments for the managed resource group.
Get-AzRoleAssignment -ResourceGroupName $mrgname The managed application definition you created in the quickstart articles used a group with the Owner role assignment. You can view the group with the following command.
Get-AzRoleAssignment -ResourceGroupName $mrgname -RoleDefinitionName Owner You can also list the deny assignments for the managed resource group.
Get-AzDenyAssignment -ResourceGroupName $mrgname To display the managed resource group's resources, run the following command. You created the $mrgname variable when you created the parameters.
az resource list --resource-group $mrgname Run the following command to list only the name, type, and provisioning state for the managed resources.
az resource list --resource-group $mrgname --query "[]." Run the following command to list the role assignment for the group that was used in the managed application's definition.
az role assignment list --resource-group $mrgname The following command parses the data for the group's role assignment.
az role assignment list --resource-group $mrgname --role Owner --query "[]." To review the managed resource group's deny assignments, use the Azure portal or Azure PowerShell commands.
Go to the managed resource group with the name prefix mrg-sampleManagedApplication and select Overview to display the resources that were deployed. The resource group contains an App Service, App Service plan, and storage account.
The managed resource group and each resource created by the managed application has a role assignment. When you used a quickstart article to create the definition, you created a Microsoft Entra group. That group was used in the managed application definition. When you deployed the managed application, a role assignment for that group was added to the managed resources.
To see the role assignment from the Azure portal:
The role assignment gives the application's publisher access to manage the storage account. In this example, the publisher might be your IT department. The Deny assignments prevents customers from making changes to a managed resource's configuration. Managed apps are designed so that customers don't need to maintain the resources. The Deny assignments excludes the Microsoft Entra group that was assigned in Role assignments.
When you're finished with the managed application, you can delete the resource groups and that removes all the resources you created. For example, in this quickstart you created the resource groups applicationGroup and a managed resource group with the prefix mrg-sampleManagedApplication.
The command prompts you to confirm that you want to remove the resource group.
Remove-AzResourceGroup -Name applicationGroup The command prompts for confirmation, and then returns you to command prompt while resources are being deleted.
az group delete --resource-group applicationGroup --no-wait If you want to delete the managed application definition, delete the resource groups you created in the quickstart articles.